The Dust of Ages: Cleaning and Maintaining Slide Projector Mirrors & Reflectors
There's a certain poetry in holding a vintage slide projector. It’s not just a machine; it’s a time capsule, a testament to a different era of entertainment and artistry. Think of the painstaking process of creating those individual slides – the careful composition, the darkroom alchemy, the quiet pride in a finished image. And at the heart of that process, illuminating those memories, lies a complex system of mirrors and reflectors, crucial for delivering a clear, bright projection. These elements, often overlooked, bear the brunt of decades of accumulated dust, grime, and the subtle effects of aging. Cleaning and maintaining them isn’t merely a repair task; it’s a respectful act of preservation, a way of honoring the original craftsman's vision.
My own fascination with these machines began with my grandfather. He was a meticulous man, a retired engineer who valued precision and durability. His basement housed a collection of analog marvels – a reel-to-reel tape recorder, a beautiful Leica camera, and, of course, a Zenith Spacek slide projector. I remember, as a child, being mesmerized by the way he'd carefully load the carousel, the satisfying click of each slide, and then the moment the image bloomed on the screen, transforming the mundane basement into a portal to another world. He’s gone now, but the projector remains, a tangible link to his legacy. Maintaining its mirrors and reflectors feels like keeping a small part of him alive.
The Anatomy of Light: Why Mirrors Matter
Understanding the role of the mirrors and reflectors is key to appreciating the complexity of the task ahead. Slide projectors, particularly carousel projectors, often utilize a complex optical path. Light, emitted from the lamp, bounces off multiple mirrors and reflectors to navigate the internal mechanism and ultimately reach the lens. Each bounce represents a potential for light loss and a source of distortion. Older projectors might employ first-surface mirrors, prized for their exceptional reflectivity and minimal light scattering, but increasingly rare now. Later models often used silvered glass mirrors, which are more susceptible to degradation over time. Achieving optimal image quality relies heavily on the accurate alignment and condition of these optical elements. Sometimes the slightest misalignment can distort the projected image; understanding the geometry of projection is crucial for a perfect result.
The degradation isn't just about dirt. Humidity can cause corrosion on the reflective surface. Volatile organic compounds (VOCs) from the air can bind to the silver, creating a dull, yellowish film. Even the materials used to create the housing around the mirrors can off-gas over decades, further contributing to the problem. The entire process, from slide creation to final projection, is a carefully orchestrated dance of light and mechanics.
Assessing the Damage: Types of Contamination
Before you even think about cleaning, you need to assess the condition of the mirrors. Simply looking isn't enough – you need to use a bright light source and a magnifying glass. Here's what to look for:
- Loose Dust and Debris: This is the most common issue and often the easiest to address.
- Smudges and Fingerprints: These often contain oily residues that are more difficult to remove.
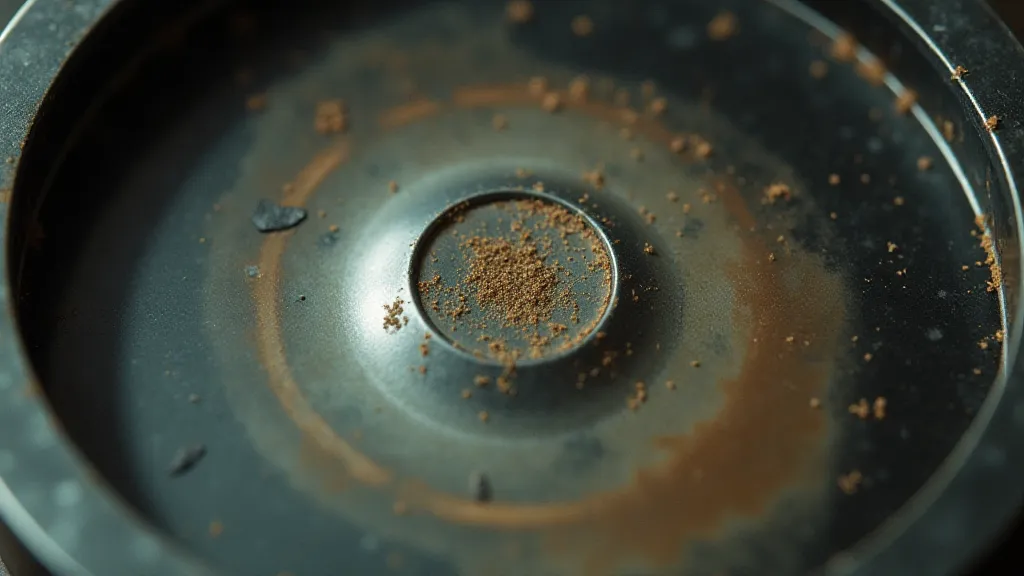
- Surface Oxidation: This appears as a dull, yellowish or brownish film. It's often uneven and can be quite stubborn.
- Corrosion: Look for pitting or discoloration, which indicates chemical breakdown of the reflective layer.
- Delamination: In severe cases, the reflective coating might be peeling away from the glass. This is a serious problem and often requires professional restoration.
Knowing the extent of the damage will dictate the cleaning method you choose. Attempting an aggressive cleaning approach on a mirror with delamination could make the problem significantly worse. Careful observation is paramount. The smooth operation of the carousel itself often depends on precisely engineered gears; a disruption there can lead to image wobble and misaligned slides. You might find yourself admiring a rhapsody in gears and appreciating the intricate mechanics at play.
The Gentle Approach: Cleaning Procedures
The goal is always to be as gentle as possible. Remember, these mirrors are delicate and irreplaceable. Here’s a tiered approach, starting with the least intrusive methods:
Tier 1: Compressed Air
A can of compressed air (used for cleaning electronics) can often dislodge loose dust and debris. Hold the can upright to prevent liquid propellant from escaping, and use short bursts, keeping a safe distance from the mirror surface.
Tier 2: Soft Brush
A high-quality, soft-bristled brush – artist’s brush or a camel hair brush – can be used to gently sweep away any remaining dust. Use long, sweeping motions, and always brush in the same direction to avoid scratching the surface.
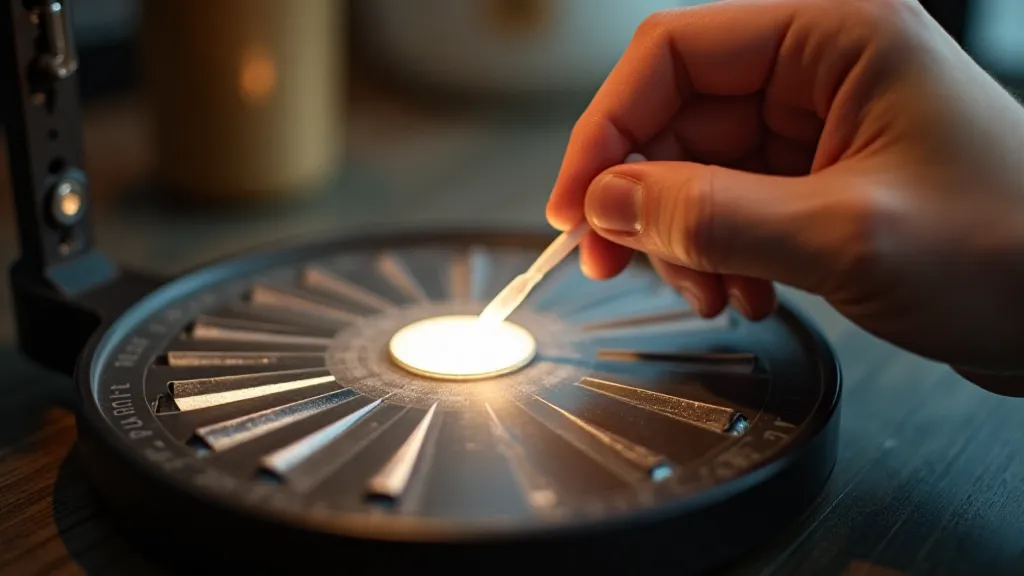
Tier 2.5: Photographic Cleaning Swabs
Specially designed photographic cleaning swabs, commonly used for cleaning camera lenses, are a step up from brushes. These are usually made of tightly woven microfiber and are incredibly gentle.
Tier 3: Specialized Cleaning Solutions (Use with Extreme Caution!)
If the above methods fail, you might consider using a specialized mirror cleaning solution. However, this should be a last resort, as these solutions can damage the reflective coating if not used correctly. Always test the solution on a small, inconspicuous area first. Avoid harsh chemicals like ammonia or alcohol. A photographic lens cleaning solution, diluted with distilled water, *might* be acceptable, but proceed with extreme caution. Sometimes focusing issues arise, impacting the overall image quality; consulting the oracle of the lens can often resolve these problems.
Important: When using any liquid, apply it sparingly and wipe immediately with a clean, lint-free cloth. Don't let the liquid sit on the surface.
Beyond Cleaning: Long-Term Preservation
Cleaning is just the first step. To truly preserve your vintage slide projector, consider the environment in which it’s stored. Avoid exposure to direct sunlight, high humidity, and extreme temperatures. Consider using a desiccant to absorb moisture. Regular, gentle cleaning – even just a quick dusting – can help prevent the buildup of contaminants. These machines are often complex assemblies with various moving parts contributing to the image projection. Understanding the intricate mechanisms involved can be a fascinating study in itself.
The Legacy of Light
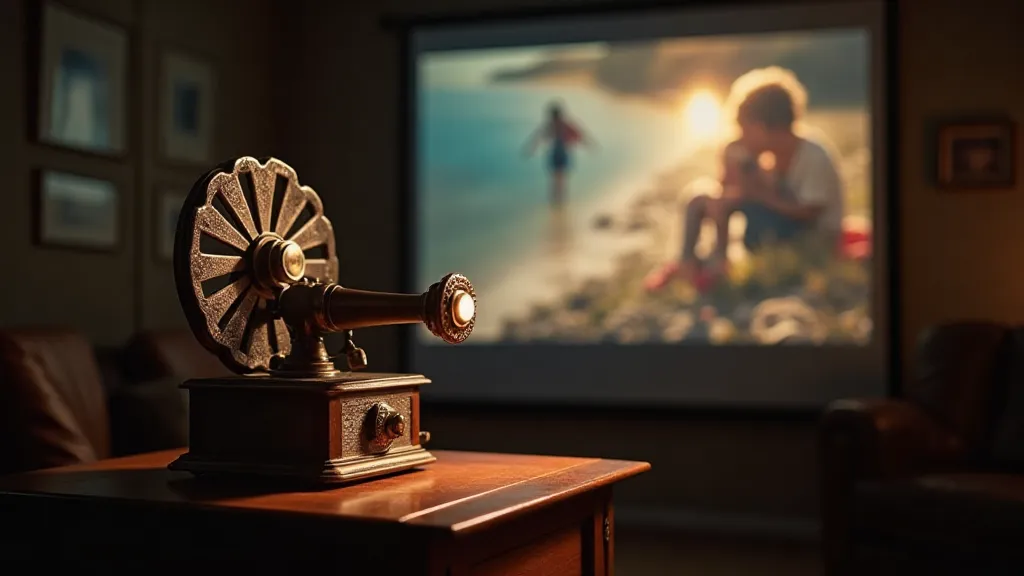
Maintaining a vintage slide projector isn’t just about fixing a machine; it's about safeguarding a piece of history. It's about preserving the art of analog photography and the simple joy of sharing memories with others. The quiet hum of the lamp, the satisfying click of the carousel, the bloom of an image on the screen – these are experiences that transcend the digital age. It's easy to overlook the beauty and simplicity of analog methods; especially as ephemeral radiance illuminates the challenges of lamp replacement. So, the next time you hold a vintage slide projector, take a moment to appreciate the craftsmanship, the artistry, and the enduring legacy of light. It's a connection to the past, a window to another time, and a reminder of the power of shared memories.
Furthermore, a well-maintained projector requires more than just clean optics; it demands a mindful approach to its storage and handling. The delicate balance between mechanics and light can easily be disrupted, leading to a diminished viewing experience.
The process of creating those individual slides – the careful composition, the darkroom alchemy, the quiet pride in a finished image – is a testament to a bygone era. It’s a craft that is both rewarding and challenging.
Conclusion
Preserving these vintage projectors is not just about maintaining a machine; it’s about preserving a piece of history and a connection to the past.