Ephemeral Radiance: Identifying and Replacing Slide Projector Lamps – A Spectrum of Choices
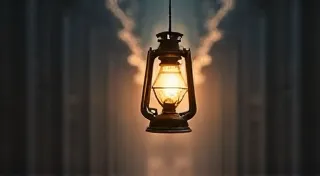
There's a certain magic to a room illuminated by the soft, steady glow of a vintage slide projector. It's more than just light; it’s a portal. A portal to memories, to family history, to the artistic visions of others, often captured decades ago. I remember, as a child, huddling with my grandparents in their living room, the slide projector whirring softly, casting shimmering images onto the screen. The aroma of dust motes dancing in the light, the hushed reverence – it was an event, a ritual. And at the heart of that ritual, a seemingly simple component: the lamp. Without it, the ephemeral radiance vanishes, leaving only a silent, beautiful machine.
Today, many of us are rediscovering these machines, driven by a desire to reconnect with the tangible and the authentic. We want to experience the beauty of analog photography in its intended format, not just as digital reproductions. But these vintage projectors, marvels of engineering in their time, often require a bit of coaxing back to life. And frequently, the first, and often easiest, repair is replacing the lamp.
The Evolution of Projector Light: A Brief History
The story of slide projector lamps is inextricably linked to the evolution of projection technology itself. Early slide projectors, popular in the 1930s and 40s, utilized carbon arc lamps. These were notoriously bright (and dangerous!), required careful adjustment, and produced a rather yellowish light. They were truly the domain of the technically inclined. As technology advanced, tungsten-halogen lamps became the standard. These offered improved brightness, color rendition, and a longer lifespan, making slide projection accessible to a wider audience.
Xenon lamps arrived later, primarily in more sophisticated carousel projectors (often referred to as 'rotary' or 'round' projectors). These lamps are known for their bright, brilliant white light and excellent color temperature, ideal for displaying a wide range of slide transparencies. However, they were also more expensive and had a shorter lifespan compared to tungsten-halogen options, which contributed to their prevalence in higher-end models.
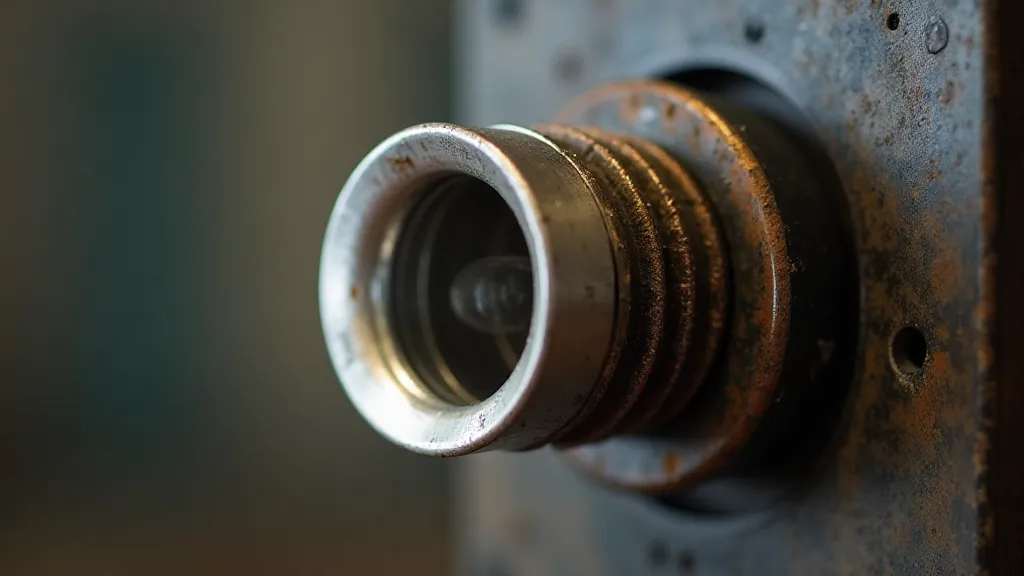
Identifying Your Lamp: A Critical First Step
Before you rush out and order a replacement, it's crucial to identify the correct lamp for your projector. This isn't as simple as just knowing the brand name; different models within a brand often used different lamps. Look for markings on the old lamp itself. Common codes include voltage (usually 110V or 120V in North America, 220V or 230V in Europe), wattage (typically ranging from 100W to 300W), and a manufacturer's code. The projector’s user manual, if you're fortunate enough to have it, is your best resource. Online forums dedicated to vintage photography and slide projection are also invaluable; experienced collectors often have extensive knowledge of specific models.
Also consider the type of projector you have. Is it a standard linear slide projector, or a carousel projector? Carousel projectors, with their rotating magazine, tend to use more powerful lamps (often Xenon) to ensure adequate illumination of all slides as they pass the lens. Misidentifying the lamp type can lead to incompatibility issues or even damage to the projector.
Tungsten-Halogen vs. Xenon: A Comparative Look
Let's delve a little deeper into the two most common types: tungsten-halogen and Xenon.
- Tungsten-Halogen: These are the workhorses of the vintage slide projector world. They offer a good balance of brightness, color rendition, and lifespan. They're relatively inexpensive and widely available. However, they do require a ‘burn-in’ period where the initial operation produces a slight smoky haze—this is normal. They also operate at high temperatures, so caution is vital during replacement.
- Xenon: These lamps provide the brightest, most vibrant light with a “pure” white color temperature, enhancing the details and colors in your slides. They are often found in higher-end carousel projectors. However, Xenon lamps are more expensive and have a shorter lifespan than their tungsten-halogen counterparts. They also tend to be more sensitive to voltage fluctuations.
There’s a certain satisfaction in restoring a carousel projector to full working order, but sourcing Xenon lamps can be a challenge. While they're still available, they often come with a higher price tag. For some, the difference in light quality is worth the investment; for others, a well-maintained tungsten-halogen lamp provides a perfectly acceptable image.
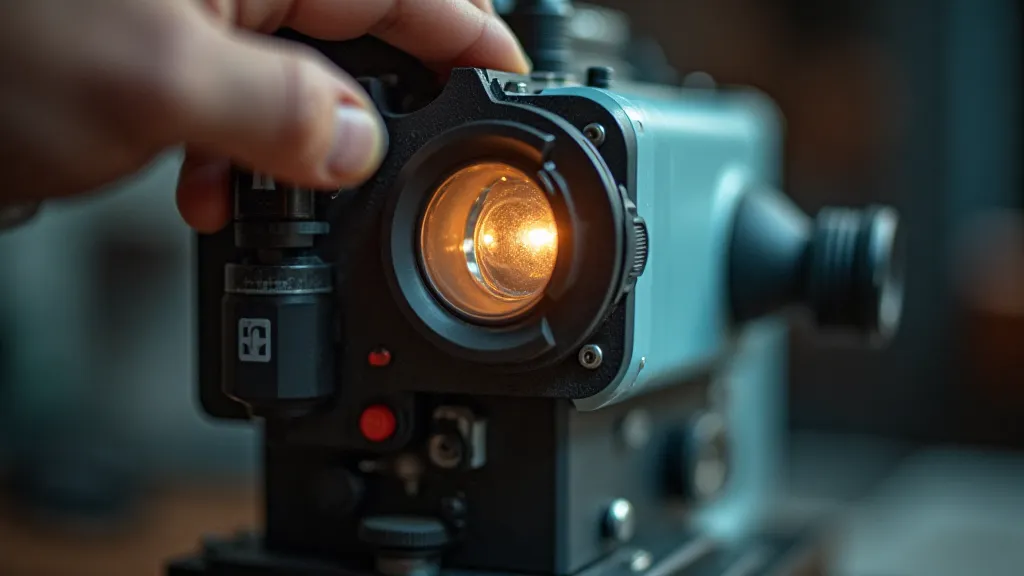
Safe Lamp Replacement: A Step-by-Step Guide
Replacing a slide projector lamp is generally a straightforward process, but safety is paramount. These lamps operate at high voltages and temperatures, so following these steps carefully is essential:
- Disconnect the projector from the power outlet! This is the single most important step.
- Allow the projector to cool down completely. Lamps can remain incredibly hot for a significant amount of time after use.
- Consult the projector's user manual. It should provide specific instructions for lamp replacement.
- Use gloves. The oils from your skin can damage the lamp filament.
- Carefully remove the old lamp. Some projectors have a simple screw-on mechanism, while others may require releasing a latch or clip.
- Carefully install the new lamp. Ensure it's properly aligned and securely fastened.
- Reconnect the projector to the power outlet.
- Initial Burn-in (for Tungsten-Halogen): It’s recommended to run the projector for a short period (15-30 minutes) initially to allow the lamp to burn in. You might notice a slight smoky odor – this is normal.
More Than Just Light: The Legacy of Analog Projection
Replacing a slide projector lamp isn’t just about restoring functionality; it’s about preserving a piece of history. It’s about keeping the magic alive for future generations. These machines represent a time when image creation and display were more deliberate, more tactile. There’s a certain beauty in the imperfection, in the slight graininess, in the warm tones – qualities that are often lost in the digital realm. As we reconnect with these analog treasures, we not only rediscover the joy of sharing memories, but also gain a deeper appreciation for the craftsmanship and ingenuity of the past.
The gentle hum of the motor, the click of the advancing carousel, the focused beam of light illuminating a treasured image – these are the elements that transport us back in time, connecting us to the people and events captured within those tiny, transparent squares. And it all starts with that seemingly simple lamp, casting its ephemeral radiance on the screen.