The Cartographer of Memories: Mapping a Carousel Projector's Internal Circuitry
There’s a quiet dignity to old things. Not the boisterous celebration of the new, but a subtle resonance born from years of faithful service, a patina of memory clinging to every surface. I’ve always found this especially true of vintage carousel projectors. They aren’t just machines; they're time capsules, miniature stages upon which generations have shared laughter, stories, and moments of profound connection. And like a complex, beautifully crafted accordion, their internal workings – their electrical circuitry – are often surprisingly intricate, deserving of respect and understanding when attempting repair.
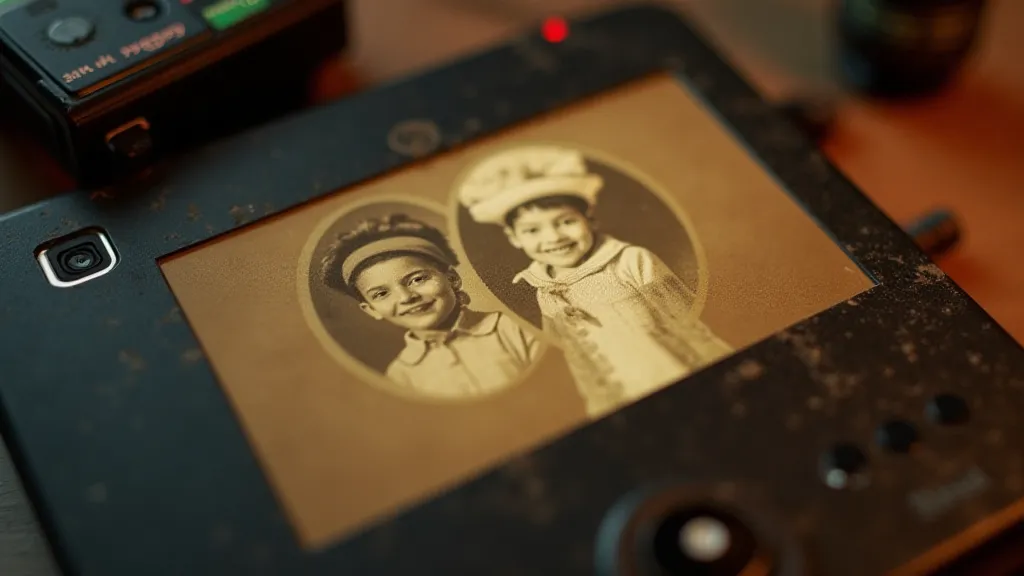
My journey into carousel projector repair began, as many do, with a box in the attic. A forgotten relic, shrouded in dust and emitting a faint smell of dried celluloid. It was a Kodak Carousel 400, a machine that defined an era of home entertainment. Seeing the potential to breathe life back into this forgotten marvel ignited a passion, a compulsion to understand its inner workings. That’s when I realized that to truly repair these projectors, you needed to become, in a sense, their cartographer – charting their electrical landscape.
The craft of carousel projector manufacturing represented a peak in analog engineering. Unlike today’s disposable electronics, these machines were built to last. The electrical components – the lamps, the motors, the transformers, the intricate wiring – were chosen and assembled with a level of care that’s rarely seen today. Looking at a schematic – a blueprint of the electrical system – can seem daunting, but it’s also a testament to the ingenuity of the engineers who designed them.
Understanding the Core Components
Let’s delve into the key electrical components typically found within a carousel projector. While specific designs varied between manufacturers (Kodak, Bell & Howell, Minolta, to name a few), the fundamental principles remain largely consistent.
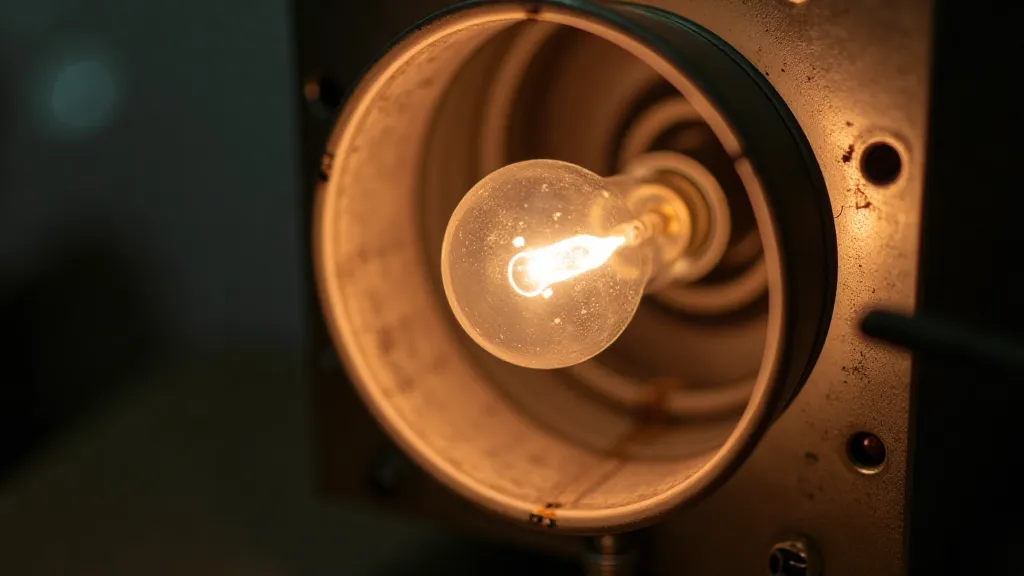
The Lamp System: This is arguably the heart of the projector. Carousel projectors use high-wattage lamps, often tungsten-halogen, to produce the intense light necessary to project the slides. The lamp’s circuitry includes a ballast – a device that regulates the voltage supplied to the lamp, preventing it from burning out too quickly. Troubleshooting lamp issues often involves checking the ballast for proper function, ensuring the correct voltage is reaching the lamp, and, of course, verifying the lamp itself isn't simply burned out (a common issue!).
The Motor System: Multiple motors are at work here. One drives the carousel itself, advancing the slides. Another powers the focusing mechanism, and a third might control the shutter or other features. Motor issues can manifest as slow advancement, erratic movement, or a complete lack of motion. Inspecting the motor windings for shorts, checking the brushes (if applicable), and verifying the power supply to the motor are key diagnostic steps.
The Transformer & Power Supply: These components step down the AC voltage from the wall outlet to the lower voltages required by the lamp, motors, and other circuits. Transformers are remarkably robust, but can fail. Power supply capacitors, however, are notorious for drying out over time, leading to a range of issues – from flickering lamps to complete failure. Visually inspecting capacitors for bulging or leakage is a good starting point.
The Shutter and Timer Circuits: Many carousel projectors include a shutter mechanism that controls the duration of the light exposure. This is often linked to a timer circuit that automatically advances the slides and controls the shutter. Problems with these circuits can result in slides being overexposed or underexposed, or the carousel not advancing correctly.
Common Electrical Faults and Troubleshooting Tips
Knowing the components is only half the battle. Understanding how they *should* function and recognizing the signs of failure is critical to successful repair.
Flickering Lamp: This often points to a ballast issue or a loose connection. Carefully check all wiring connections to the lamp and ballast, and use a multimeter to measure the voltage across the ballast. A flickering lamp can also be a sign of a failing lamp filament, though this is less common in older, higher-quality lamps.
Slow Carousel Advance: This is frequently caused by a motor that’s losing power. Check the motor windings for shorts and the brushes for wear (if applicable). A dirty or sticky drive mechanism can also impede carousel movement.
No Power: Start with the basics – check the power cord and the fuse. Then, systematically test the power supply components, looking for signs of failure like bulging capacitors or burnt resistors.
Erratic Shutter Behavior: A faulty shutter timer can cause slides to be overexposed or underexposed. Trace the shutter circuit on the schematic and test the components involved, paying particular attention to the timer IC (Integrated Circuit) if present.

The Value of Patience and Respect
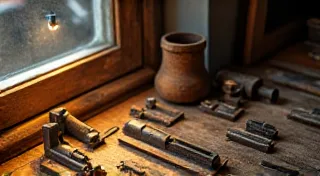
Repairing a vintage carousel projector isn’s always easy. It requires patience, a methodical approach, and a healthy dose of respect for the craftsmanship that went into its creation. Finding replacement parts can be challenging, but the effort is almost always worth it. Online communities and forums dedicated to vintage photography equipment are invaluable resources for sourcing parts and obtaining expert advice. Often, seemingly irreplaceable components can be salvaged from other defunct projectors.
Beyond the technical aspects, there’s a deeper satisfaction in bringing these machines back to life. They’re not just tools for viewing slides; they’re tangible links to the past, reminders of a time when families gathered to share memories and celebrate life’s moments. The faint hum of the motor, the warm glow of the lamp, the projected image dancing on the screen – these are experiences that deserve to be preserved. And, like a meticulous cartographer charting a forgotten landscape, the repairer plays a vital role in ensuring that these memories continue to illuminate generations to come.
The appreciation of vintage technology isn’t just about functionality; it’s about acknowledging the dedication and ingenuity of those who built it. Each repaired projector tells a story, a testament to the enduring power of analog technology and the importance of preserving our collective visual heritage.