The Language of Springs: A Guide to Replacing and Adjusting Tension Springs
There’s a quiet poetry to the world of vintage slide projectors. Beyond the warm glow of projected images and the mechanical whir of the transport system lies a delicate ecosystem of tiny, precisely engineered components. Among these, the humble spring often goes unnoticed, yet it’s arguably the unsung hero, the silent conductor orchestrating the projector’s dance. Replacing or adjusting these springs can feel daunting, but understanding their purpose and the subtle language they speak unlocks a deeper appreciation for the ingenuity of these machines. This isn’t just about fixing a projector; it's about understanding a moment in time – a testament to a dedication to quality and longevity that’s increasingly rare today.
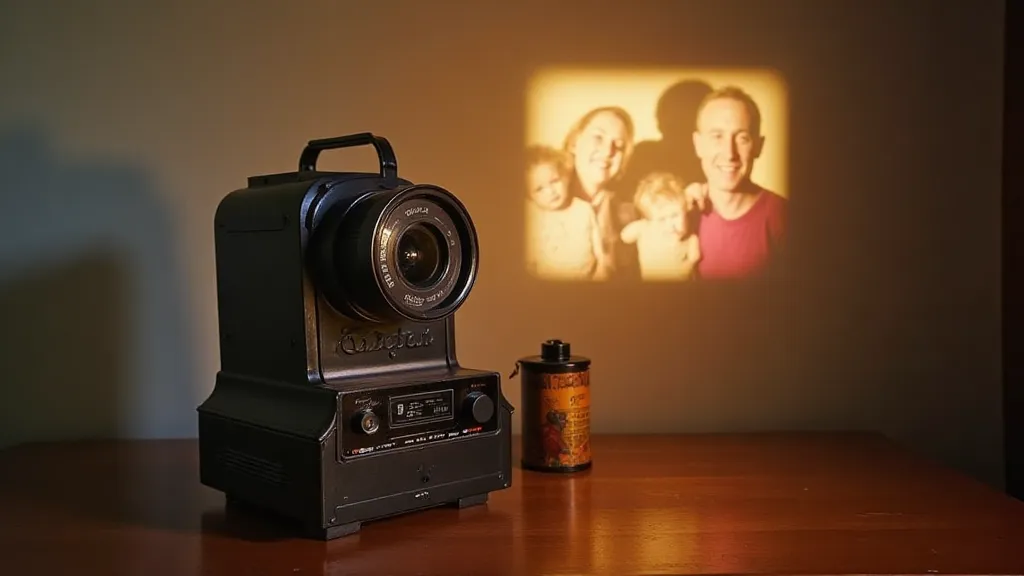
My own fascination with springs began with a rather dilapidated Kodak Carousel projector. I'd inherited it from my grandfather, a meticulous engineer who saw value in durability over disposability. The Carousel, a once-proud centerpiece of family gatherings, was refusing to advance the slides. It seemed hopeless, another victim of neglect. But as I began to disassemble it, the sheer artistry revealed itself. Each spring, meticulously shaped and positioned, played a crucial role. It was like deciphering a coded message – a language of tension, release, and precise timing. The mechanics were intricately linked, a testament to the design and the care taken in crafting these machines – a world away from the disposability we often see today. Often, the challenge isn't just the springs themselves, but the complex interplay of gears and levers that ultimately bring those projected images to life, sometimes requiring a deeper exploration of the clockwork heart that keeps everything moving.
Springs aren’t just about providing force. They’re about finesse. The type of spring used – coil, leaf, torsion – and its specific tension dictates how a mechanism operates. In a slide projector, you’ll find them everywhere: controlling the shutter speed, engaging the film gate, retracting the slide magazine, and maintaining pressure on the light bulb. The subtle variations in their tension dramatically affect image clarity, slide advance reliability, and overall projector performance. A spring that's too tight can jam the mechanism, while one that's too loose can lead to inconsistent operation and potentially damage the slides. Maintaining the right light balance and image fidelity also relies on ensuring correct functionality – a delicate process sometimes impacted by issues like chromatic aberration.
Understanding Spring Types and Their Roles
Let's delve into the most common types you're likely to encounter during a vintage slide projector repair.
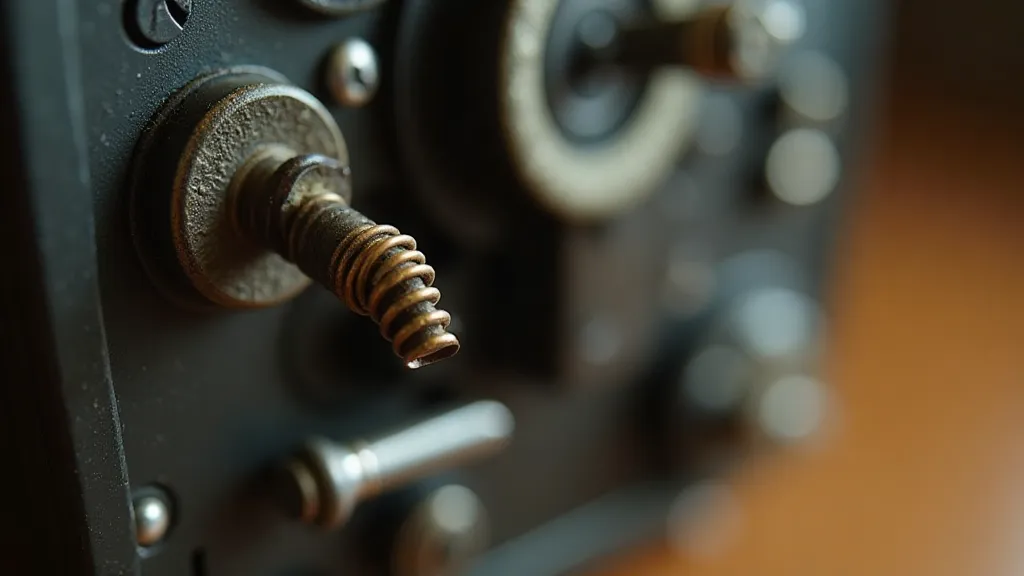
- Coil Springs: These are the most prevalent, offering a linear force relationship. They’re used for retraction, pushing, and general tension. Varying the coil diameter and wire thickness changes their stiffness. Often found retracting the slide transport mechanism or keeping a shutter closed.
- Leaf Springs: Thin, flat pieces of metal bent to create a spring action. They’re commonly used in levers and as limit switches, providing a controlled release of pressure. Their flexibility is critical for accurate positioning.
- Torsion Springs: These springs resist rotational force. They’re often used in mechanisms requiring a rotational force, such as the advance lever or the focusing system. They are notoriously tricky to replace and require careful observation of the original configuration.
- Belleville Springs (Conical Springs): Less common in older models, but sometimes found in later slide projectors, Belleville springs offer a non-linear spring rate, meaning the force increases disproportionately as they’re compressed.
Each spring’s placement is deliberate. Imagine the pressure needed to ensure consistent contact between the light source and the slide. Too little, and the image will be dim or uneven. Too much, and the bulb’s lifespan is dramatically reduced. The designer considered these factors, and replicating that balance during a repair is paramount. It’s a process of restoration that goes beyond mere replacement; it's about recreating the original intent and functionality, a pursuit sometimes complicated by the need for specialized components and meticulous attention to detail. Restoring the projector to its original brilliance involves more than just the mechanical aspects – the projection itself demands precision, and any inconsistencies can diminish the experience. The quality of the projected image itself is heavily influenced by the consistency of the illumination, a factor directly impacted by the integrity of the lamp and related components - a subject explored in greater detail when discussing ephemeral radiance and lamp replacement.
Replacing a Spring: A Step-by-Step Approach
Replacing a spring isn’t simply about swapping it with another one of similar size. It’s about understanding its function and ensuring the new spring performs the same role.
- Observation is Key: Before you even think about removing a spring, carefully observe how it’s positioned and what mechanism it affects. Take photos from multiple angles.
- Gentle Removal: Springs can be fragile, especially those that have aged. Use appropriate tools – small screwdrivers, tweezers – to avoid damaging the surrounding components. Don't force anything.
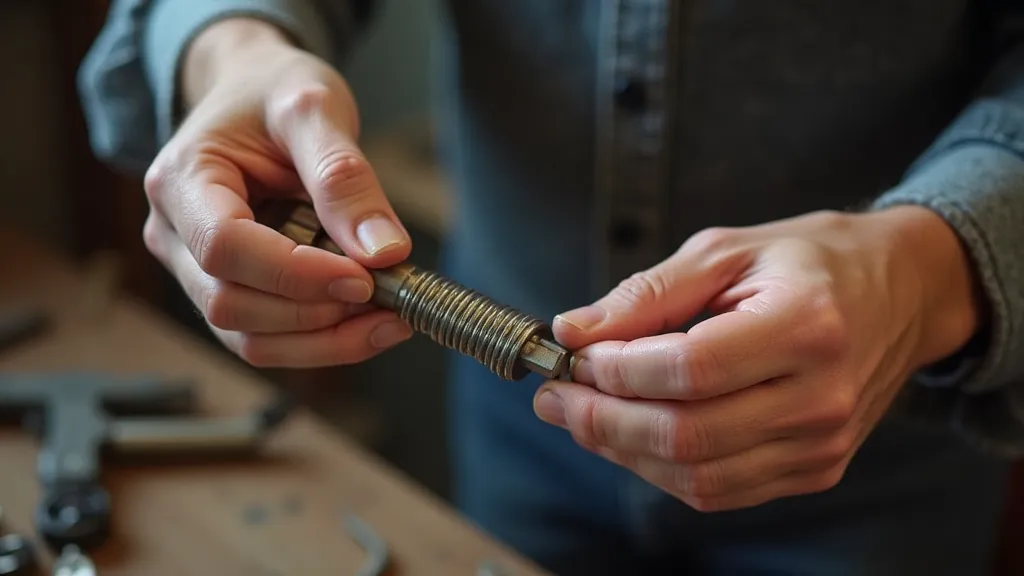
- Measurement and Comparison: Measure the spring’s diameter, wire thickness, and free length. Compare these measurements with a replacement spring. While exact matches are ideal, sometimes a slight adjustment in tension might be necessary.
- Lubrication: Apply a small amount of light machine oil to the new spring before installation. This reduces friction and ensures smooth operation.
- Testing: After installation, carefully test the projector’s operation. Pay close attention to the mechanism affected by the spring. A slight adjustment might be needed to fine-tune the tension.
Finding replacement springs can be challenging. Antique stores, hardware stores, and online retailers specializing in vintage parts are good starting points. Sometimes, springs from other vintage equipment can be adapted, but this requires careful consideration and experimentation. Beyond just finding replacements, a true restoration seeks to recreate the original performance, which is a far more intricate process than simple component swapping. It's a journey into understanding the original design philosophy and materials, and often necessitates a deep dive into the history of the projector itself.
Adjusting Spring Tension: A Delicate Art
Sometimes, a spring isn't broken; it just needs adjustment. This is particularly true for coil springs, where slight bending can alter their tension.
Caution: Adjusting spring tension should only be attempted if you have a good understanding of the mechanism it affects. Incorrect adjustment can damage the projector.
For coil springs, carefully bending the spring’s coils can increase or decrease its tension. A slight adjustment can often make a significant difference in performance. For torsion springs, adjusting tension is even more complex and often requires specialized tools and techniques. The act of restoration is a blend of technical skill and artistic appreciation – an understanding that even seemingly insignificant components contribute to the overall aesthetic and functional integrity of the machine. The ability to finely tune these details is what separates a simple repair from a true restoration, bringing back not just functionality but also the original charm and character of the projector.
The Legacy of Analog Photography
Working on these projectors isn’t just a technical exercise; it’s a connection to a bygone era. My grandfather, like many engineers of his generation, believed in building things to last. These slide projectors are testaments to that philosophy – robust, reliable machines designed to bring joy and share memories for generations. By repairing and restoring these machines, we’re not just preserving technology; we’re preserving a legacy of craftsmanship and a commitment to quality that’s increasingly rare in our disposable world. The faint whir of the motor, the satisfying click of the advance lever, the warm glow of the projected image – these are all echoes of a time when things were built to last, and that’s a language worth understanding. These machines represent more than just a collection of parts; they encapsulate a specific moment in time, a reflection of the engineering priorities and aesthetic sensibilities of a previous generation. They’re time capsules, capable of transporting us back to moments of family gatherings and shared experiences.
The patient, meticulous work required to repair a vintage slide projector instills a deep respect for the original designer and the skill of the craftsperson who built it. It reminds us that even the smallest components, like a humble spring, play a vital role in the larger symphony of technology, and that preserving these machines is a way of honoring a dedication to quality and a passion for sharing stories through the art of analog photography. The dedication to detail and the pursuit of perfection embodied in these machines stand in stark contrast to the mass-produced, often disposable nature of contemporary technology. They serve as a powerful reminder of the value of craftsmanship, durability, and the enduring power of analog media. They tell a story – a story of innovation, artistry, and the human desire to connect through shared experiences. The ability to rekindle that spark, to bring these machines back to life, is a privilege and a responsibility, ensuring that the legacy of analog photography continues to inspire and delight for generations to come.