Chromatic Aberration & the Fragility of Time: Restoring Color Fidelity in Vintage Slide Projects
There’s a particular kind of melancholy that settles in when you handle a vintage slide projector. It's not simply nostalgia for a bygone era, though that's certainly present. It’s a deeper understanding of the fragile nature of time, the inevitable decay of materials, and the persistent struggle to preserve moments – fleeting glimpses of lives lived, experiences shared, and landscapes captured.
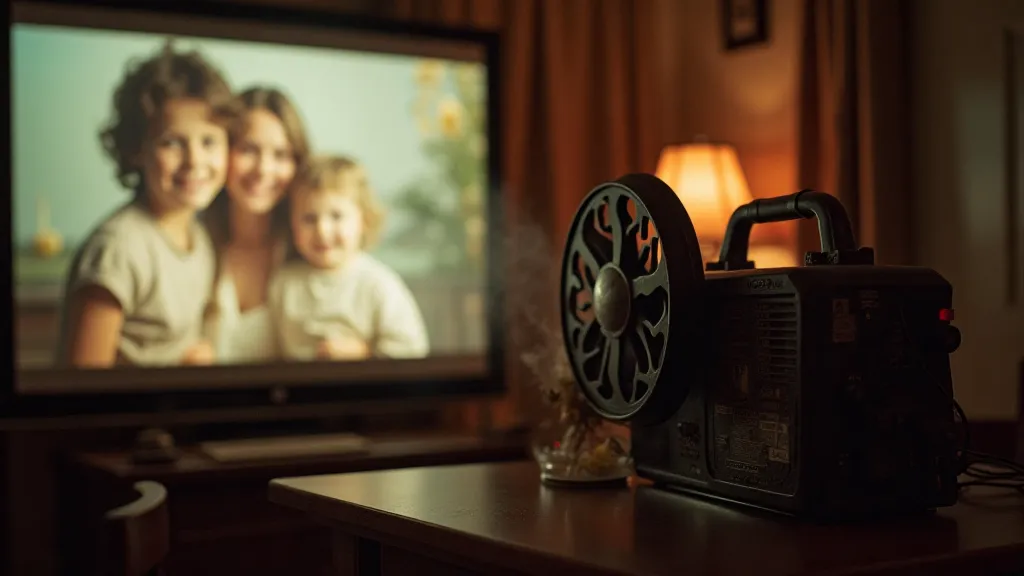
I remember my grandfather's projector. A hulking, beige Kodak Ektapro, it dominated the living room for family gatherings. The rhythmic whirring, the sharp click as the carousel advanced, the sudden burst of light illuminating the screen – it was a ritual, a ceremony. He’s gone now, but the projector remains, a tangible link to his memory, its projected images a portal to a past I only experienced secondhand. But with age, that projection hasn's been perfect. Colors have bled, fringed, and seemed to shift under the light.
These issues often stem from chromatic aberration – a frustrating optical phenomenon that plagues even the finest lenses, but becomes significantly more noticeable as age and use take their toll. Simply put, chromatic aberration occurs when a lens fails to focus all colors of light to the same point, resulting in a colored fringe around high-contrast edges in your slides. It's especially prevalent in older projection lenses, where multiple glass elements, each with their own refractive properties, contribute to this distortion. Understanding why these older projectors are so prone to such issues requires a look beyond just the lens itself; a key element is also the health and cleanliness of the internal mirrors and reflectors.
The Anatomy of the Problem: Slides and Projectors in Harmony (or Disharmony)
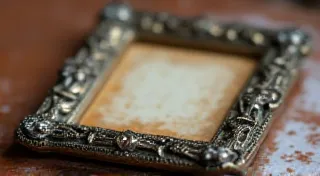
Understanding the source of color distortion requires looking at both the slides themselves and the projection system. Slides, typically Ektachrome or Kodachrome, are made of a polyester base coated with an emulsion containing dyes. These dyes fade and shift over time, especially when exposed to light and improper storage. The polyester base can also yellow or become brittle. The dyes are sensitive to UV light and heat, which accelerate the degradation. Handling the slides roughly, getting fingerprints on them, or storing them in humid environments further compounds the problem.
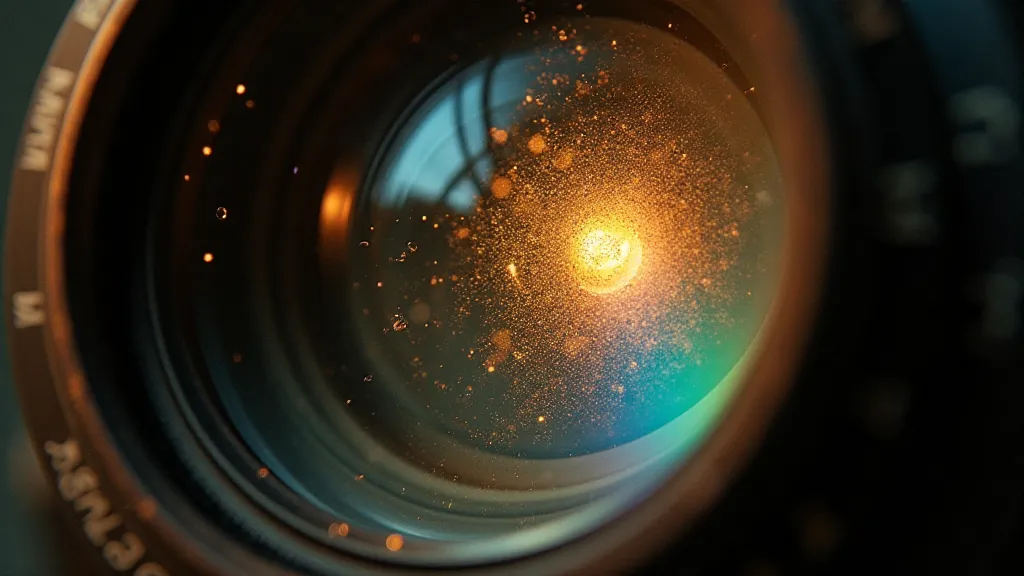
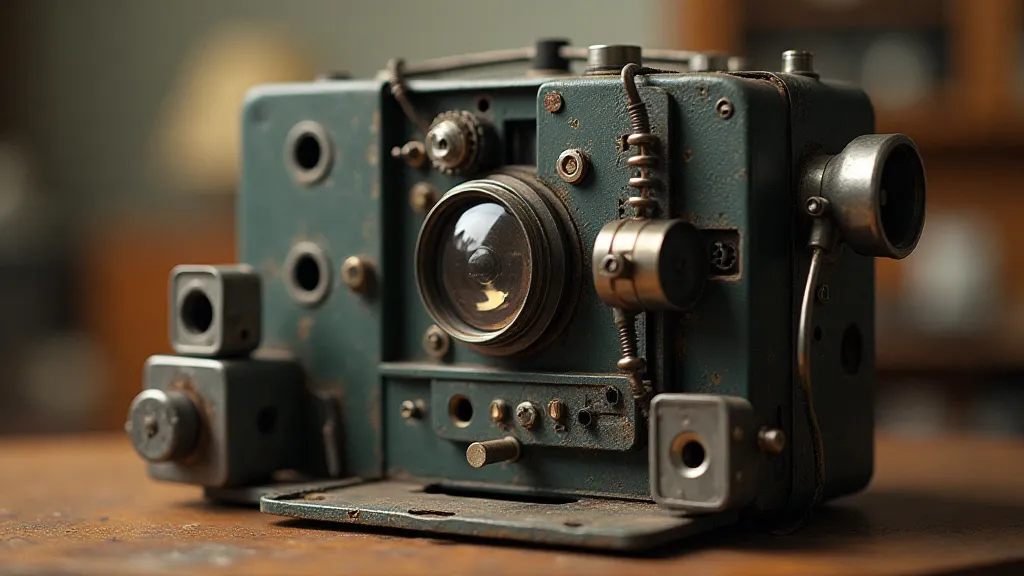
The projector, meanwhile, comprises a light source, a system of mirrors and lenses, and a carousel to advance the slides. The projector lens is the key culprit in many cases. Dust and grime accumulate on the lens surfaces, scattering light and diminishing image clarity. The lens coating, a thin layer applied to reduce reflections and improve light transmission, degrades over time. This coating can crack, peel, or simply lose its effectiveness. The internal components of the projector – mirrors, prisms – are also susceptible to dust, dirt, and degradation. Furthermore, the smooth and reflective surfaces of these mirrors are paramount to maintaining image quality; if they become cloudy or corroded, the entire system suffers. For a deep dive into maintaining these reflective components, consider reading more about The Dust of Ages: Cleaning and Maintaining Slide Projector Mirrors & Reflectors. This exploration of their maintenance is crucial in restoring the projector's brilliance.
The Art of Mitigation: Cleaning and Preparation
While a complete reversal of aging is impossible, significant improvements can often be achieved through careful cleaning and preparation. Begin with the slides. Handle them with gloves to prevent further fingerprints. Use a dedicated slide cleaning brush – a soft, camel-hair brush is ideal – to gently remove surface dust. For more stubborn grime, consider using a photographic-grade slide cleaning solution, applied sparingly with a lint-free cloth. Always test the solution on an inconspicuous area first to ensure it doesn’t damage the dye emulsion.
The projector lens requires even greater care. Disassembly is often necessary to access all lens elements, a task that requires patience and a steady hand. Photographic lens cleaning fluid and cotton swabs are your primary tools. Work methodically, cleaning each lens element individually, paying close attention to the edges where grime tends to accumulate. Avoid harsh chemicals or abrasive materials, as these can permanently damage the lens coating. A thorough cleaning often reveals a surprising degree of improvement, but don’t expect miracles.
Beyond Cleaning: Alignment and Mechanical Restoration
Sometimes, the issue isn’t solely about dirt and grime. Mechanical problems, such as lens misalignment, can also contribute to color distortion. Over time, the projector’s internal components can shift, causing the light path to become misaligned. This can be challenging to diagnose and correct, often requiring specialized tools and expertise. Many older projectors also suffer from lubrication issues - gears and moving parts become stiff and noisy, contributing to inconsistent slide advancement and potential image instability. Ensuring that these intricate components function smoothly is essential for optimal performance, a symphony of shadows, if you will. For those interested in the finer points of reducing screen noise and maximizing image clarity, explore A Symphony of Shadows: Understanding and Eliminating Screen Noise. This insightful article offers solutions for overcoming the challenges inherent in vintage projection systems.
Restoring the projector’s mechanical functionality often involves cleaning and re-lubricating the gears, sprockets, and other moving parts. Specialized lubricants designed for photographic equipment are essential. Carefully re-aligning the lens system, if necessary, is a delicate operation that best left to experienced technicians. Proper alignment ensures that the light passes through the lens elements precisely as designed, minimizing distortion and maximizing image quality. The complexities of these mechanical systems are often overlooked, but understanding their interconnectedness is key to achieving optimal performance. The workings of these vintage machines are truly remarkable—a clockwork heart of nostalgia. Furthermore, understanding the intricate circuitry and electronic components is crucial for diagnosing and resolving a wide range of issues. Those wishing to delve into the internal workings and troubleshooting techniques for carousel projectors should consider reading The Cartographer of Memories: Mapping a Carousel Projector's Internal Circuitry. It's an exploration of these mechanical marvels.
The Enduring Appeal: Preserving a Legacy
Restoring vintage slide projectors isn’t just about fixing a piece of equipment; it’s about preserving a legacy. It’s about reconnecting with a bygone era and sharing those memories with future generations. The inherent imperfections of these older systems – the occasional flicker, the subtle color fringing – are part of their charm. They are a tangible reminder of the time and effort that went into capturing those moments.
I still use my grandfather's Kodak Ektapro. The colors aren’t as vibrant as they once were, and the occasional chromatic aberration is noticeable. But those imperfections are a reminder of him, of family gatherings, and of a simpler time. The projector whirs, the carousel advances, and for a brief moment, the past comes alive again, a fragile but beautiful testament to the enduring power of analog photography. The challenge isn’t to erase those imperfections, but to understand them, to appreciate them, and to ensure that those memories continue to be projected for years to come.